You can set up Lucid Meetings to work with UberConference for the audio portion of your meeting. This makes it easy for you to include any existing UberConference information in meeting invitations and during the running meeting.
UberConference website: www.uberconference.com
To use UberConference as an audio option, you must use your Conference URL that is associated with your UberConference account. This information is found under "View your Main Dashboard" and on your homepage in UberConference.
1) Setting up the UberConference integration
To set this up in Lucid Meetings, click the Organization name in the left navigation to go to the Organization home page. Click the Settings tab. Under Integrations, click Add a new integration.
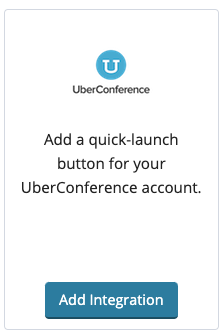
Find UberConference, then click "Add integration".

Follow the instructions below, using your unique UberConference Conference URL.
- Give the integration a Name. (ex: My UberConference Account)
- Enter your UberConference Custom URL
- Once you are done, click Save.
2) Setting up a Meeting with UberConference
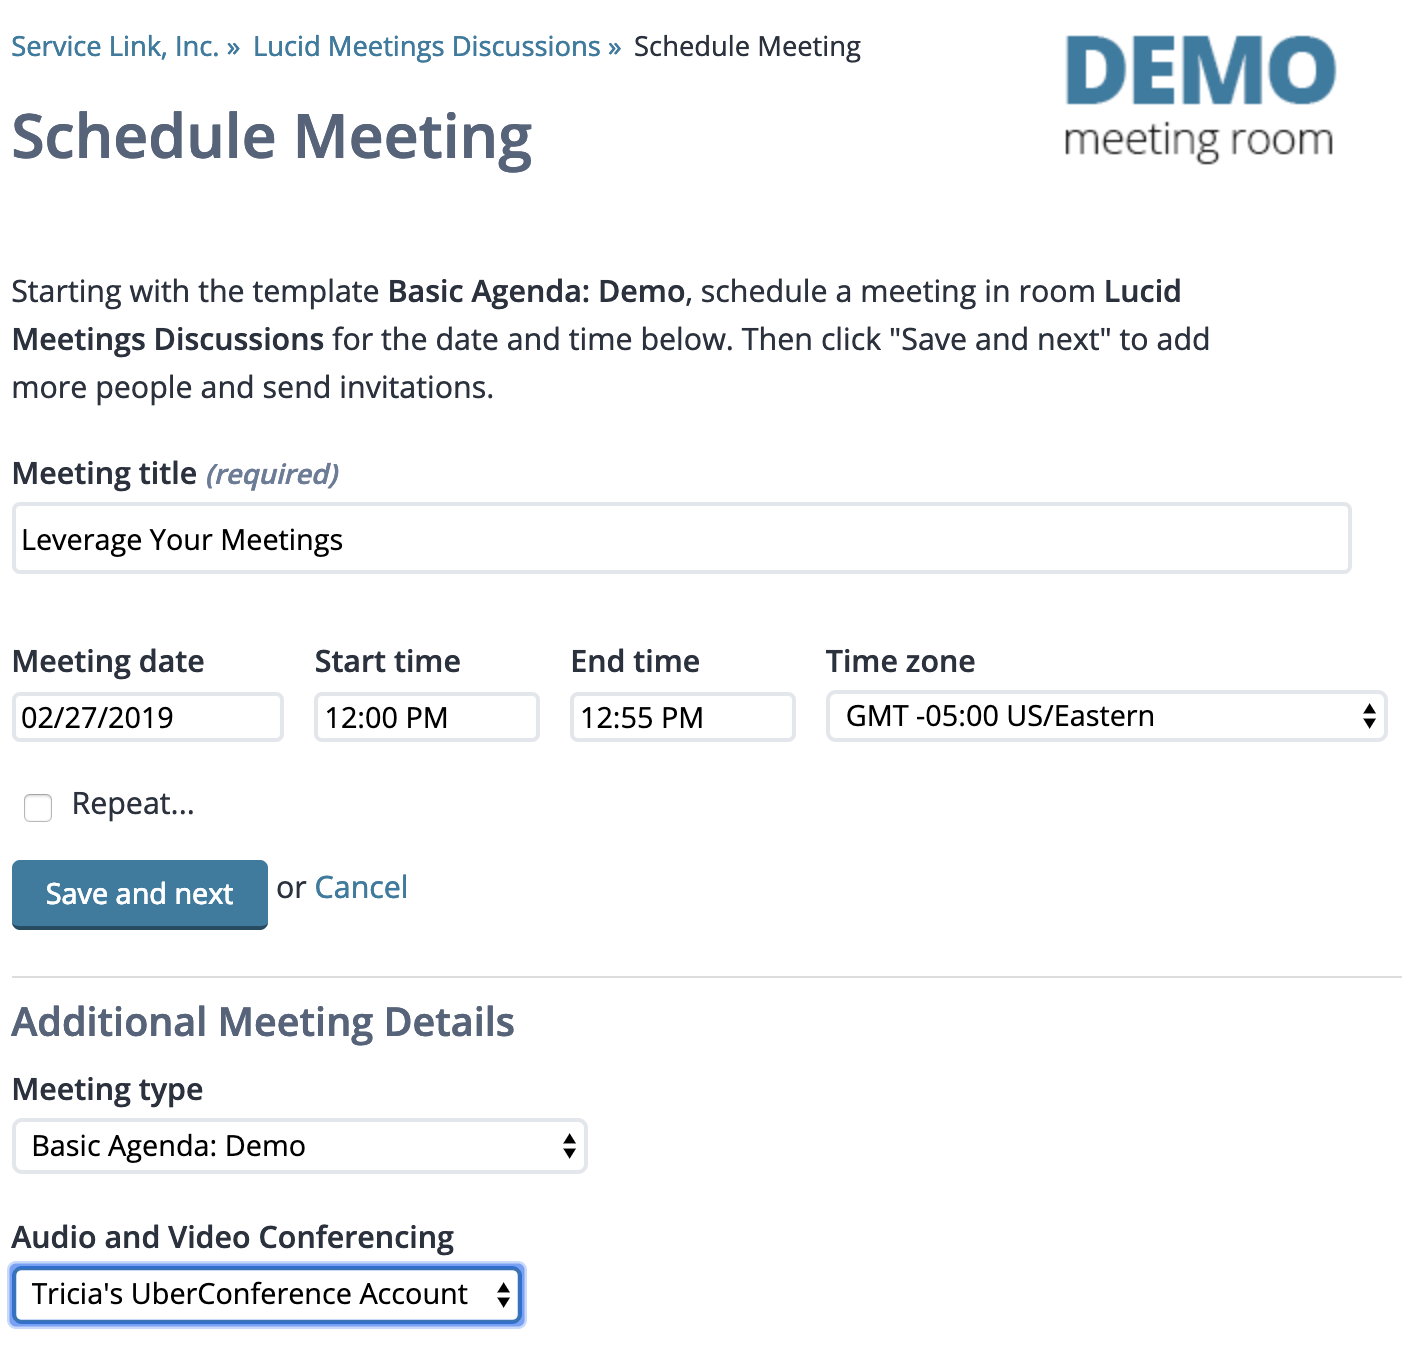
When scheduling a meeting, choose the UberConference option under "Audio and Video Conferencing."

Setting up a Lucid Meeting with UberConference
Setting this up will allow users to connect to audio using your UberConference account.
3) Joining a meeting with UberConference Audio
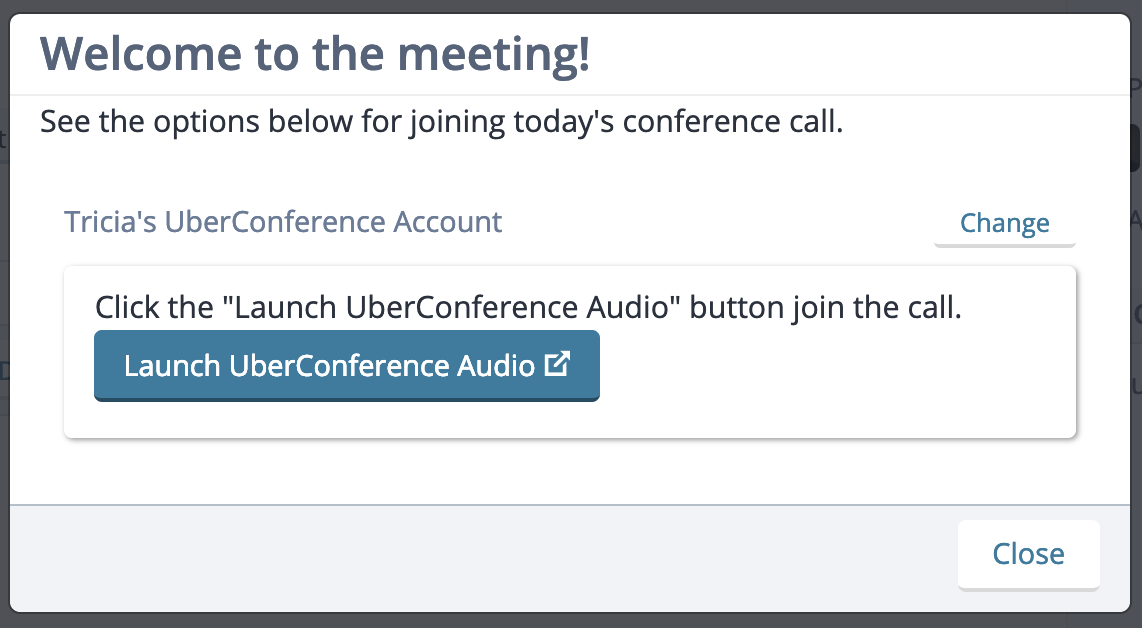
When joining the meeting, you'll see the "Launch UberConference Audio" button (or what you have named it) in the Audio popup window.

Joining the UberConference Audio in a Lucid Meeting
Click the button to launch UberConference in your meeting.
4) Choose Your Preferred Audio Option
Once you launch UberConference in a separate window, you can choose your audio option. Select either My Phone to dial in or My Computer for web audio.

Choose your preferred audio option in the UberConference window.
